【Swift】UIButtonにカスタムクラスを設定する
公開日:
実装するもの
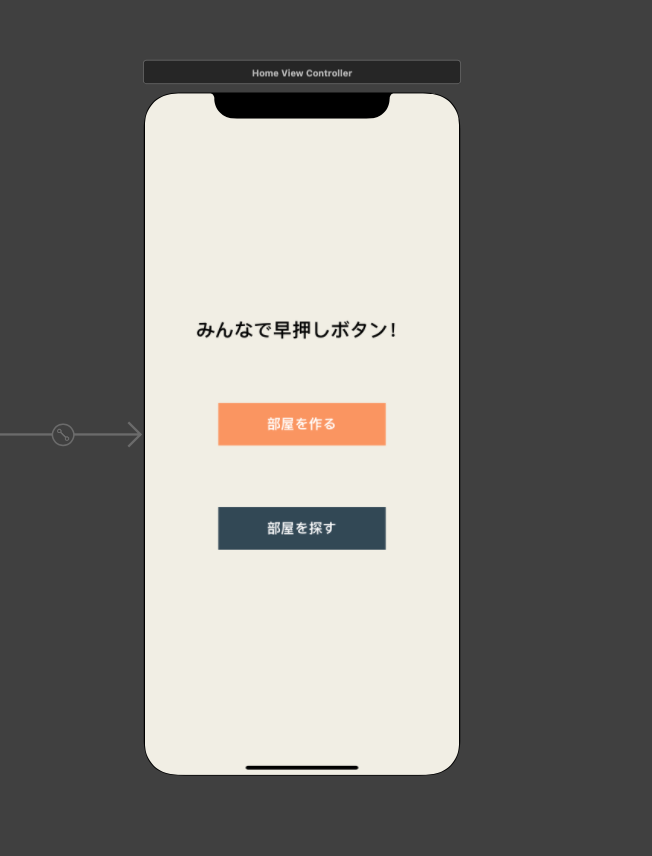
このボタンは Storyboard ではこのように普通のボタンで UIViewController で何らかの設定をしている訳ではないのですが、自分で作ったカスタムクラスを継承しており、そのクラスの中で見た目や、アニメーションを設定しているのでこのクラスを継承するだけで、見た目やアニメーションを統一することができます。
画面の複数箇所で、同じ見た目や、同じアニメーションをつけた部品を設置したいときはとても便利なのでぜひ、やってみてください。
実装方法
カスタムクラスを作る
今回は、個人的に開発しているアプリのボタンの部品のカスタムクラスなのでQBButtonというクラス名ですが、名前はなんでも大丈夫ですし、継承させるクラスも UIButton じゃなくて、UIView とかでも全然大丈夫です。今回自分が作った QBButton クラスのコードはこちら
QBButton.swift
import Foundation
import UIKit

class QBButton: UIButton {

    private let shadowOffset: CGFloat = 3 // 影のずれの大きさ

    override init(frame: CGRect) {
        super.init(frame: frame)
        configureUI()
    }

    required init?(coder: NSCoder) {
        super.init(coder: coder)
        configureUI()
    }

    private func configureUI() {
        self.layer.cornerRadius = 10
        addShadow(self.shadowOffset)
    }

    private func addShadow(_ shadowOffset: CGFloat) {
        self.layer.shadowOpacity = 0.7
        self.layer.shadowRadius = 3
        self.layer.shadowColor = UIColor.black.cgColor
        self.layer.shadowOffset = CGSize(width: shadowOffset, height: shadowOffset)
    }
}

extension QBButton {
    // MARK: - Button Tap Method
    override func touchesBegan(_ touches: Set<UITouch>, with event: UIEvent?) {
        super.touchesBegan(touches, with: event)
        // ボタンが押されたとき
        pressedButtonAnimation()
    }

    override func touchesEnded(_ touches: Set<UITouch>, with event: UIEvent?) {
        super.touchesEnded(touches, with: event)
        // ボタンが押され終えたとき
        releasedButtonAnimation()
    }

    override func touchesCancelled(_ touches: Set<UITouch>, with event: UIEvent?) {
        super.touchesCancelled(touches, with: event)
        // ボタンのタップがキャンセルされたとき
        releasedButtonAnimation()
    }

    // MARK: - Animation Method
    private func pressedButtonAnimation() {
        UIView.animate(withDuration: 0.1, delay: 0.0, options: .curveEaseIn) {
            // 影のずれの分だけ、自分の位置を下げる
            self.transform = CGAffineTransform(translationX: self.shadowOffset, y: self.shadowOffset)
        }
        // 影を消す
        self.addShadow(0)
    }

    private func releasedButtonAnimation() {
        UIView.animate(withDuration: 0.1, delay: 0.0, options: .curveEaseOut) {
            // 自分の位置をもとに戻す
            self.transform = CGAffineTransform.identity
        }
        // 影を元通りにする
        self.addShadow(self.shadowOffset)
    }
}
継承させる
Storyboard から IBOutlet などで、設定したボタンはデフォルトでは、UIButtonを継承していると思います。その部分を今回作ったUIButtonに置き換えます。

これを

こう。
これでこのボタンはQBButtonを継承しました。これで、いける。かと思いきや最後に StoryBoard からCustomCellの部分を設定しないとうまく動作しないようです。
カスタムクラスを設定する
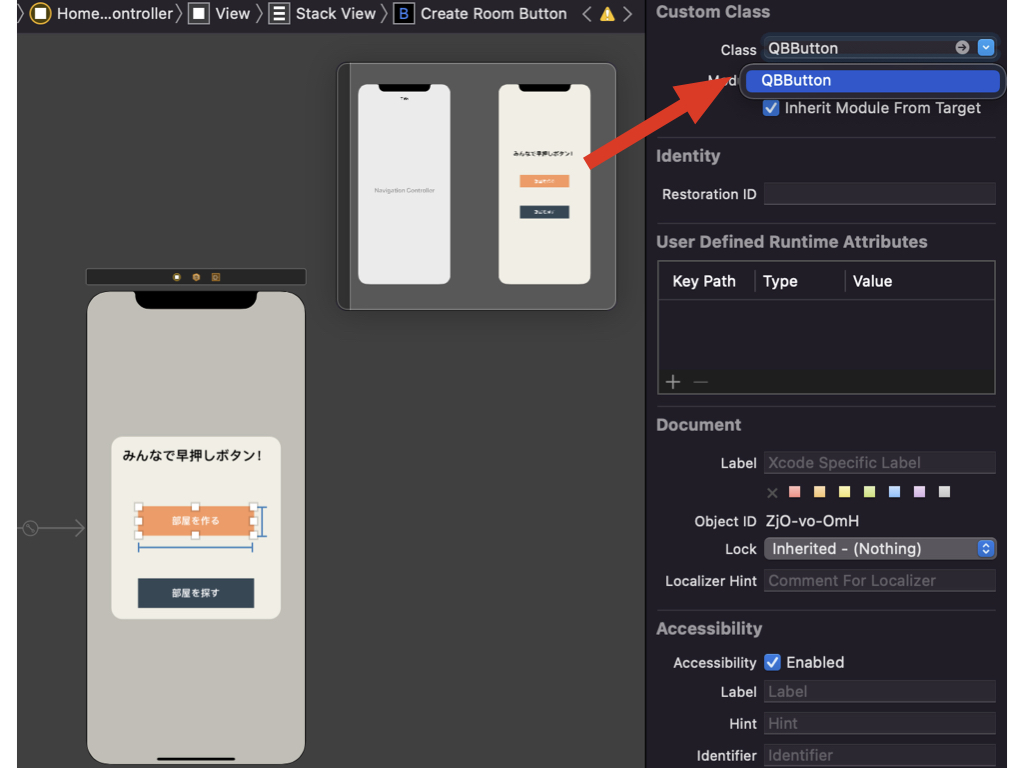
CustomClass の部分を、今回自分が作成したカスタムクラスにしてください。クリックすると、下に候補が出てくるはずです。これでカスタムセルの設定完了。
最後に
カスタムセルを継承した部品を全てデザインやアニメーションを統一することができるので、全ての部品の箇所で設定するよりもはるかに簡潔に書けると思います。ぜひ活用してみてください。
では、Bye